A Few Notes on Upgrading to Remirror v2
Recently we’ve hit a few issues with Remirror v1, and found that the newer version of Remirror has already fixed some of them, we therefore decided to upgrade to v2.
This post is to record a few notes I had during the upgrade process.
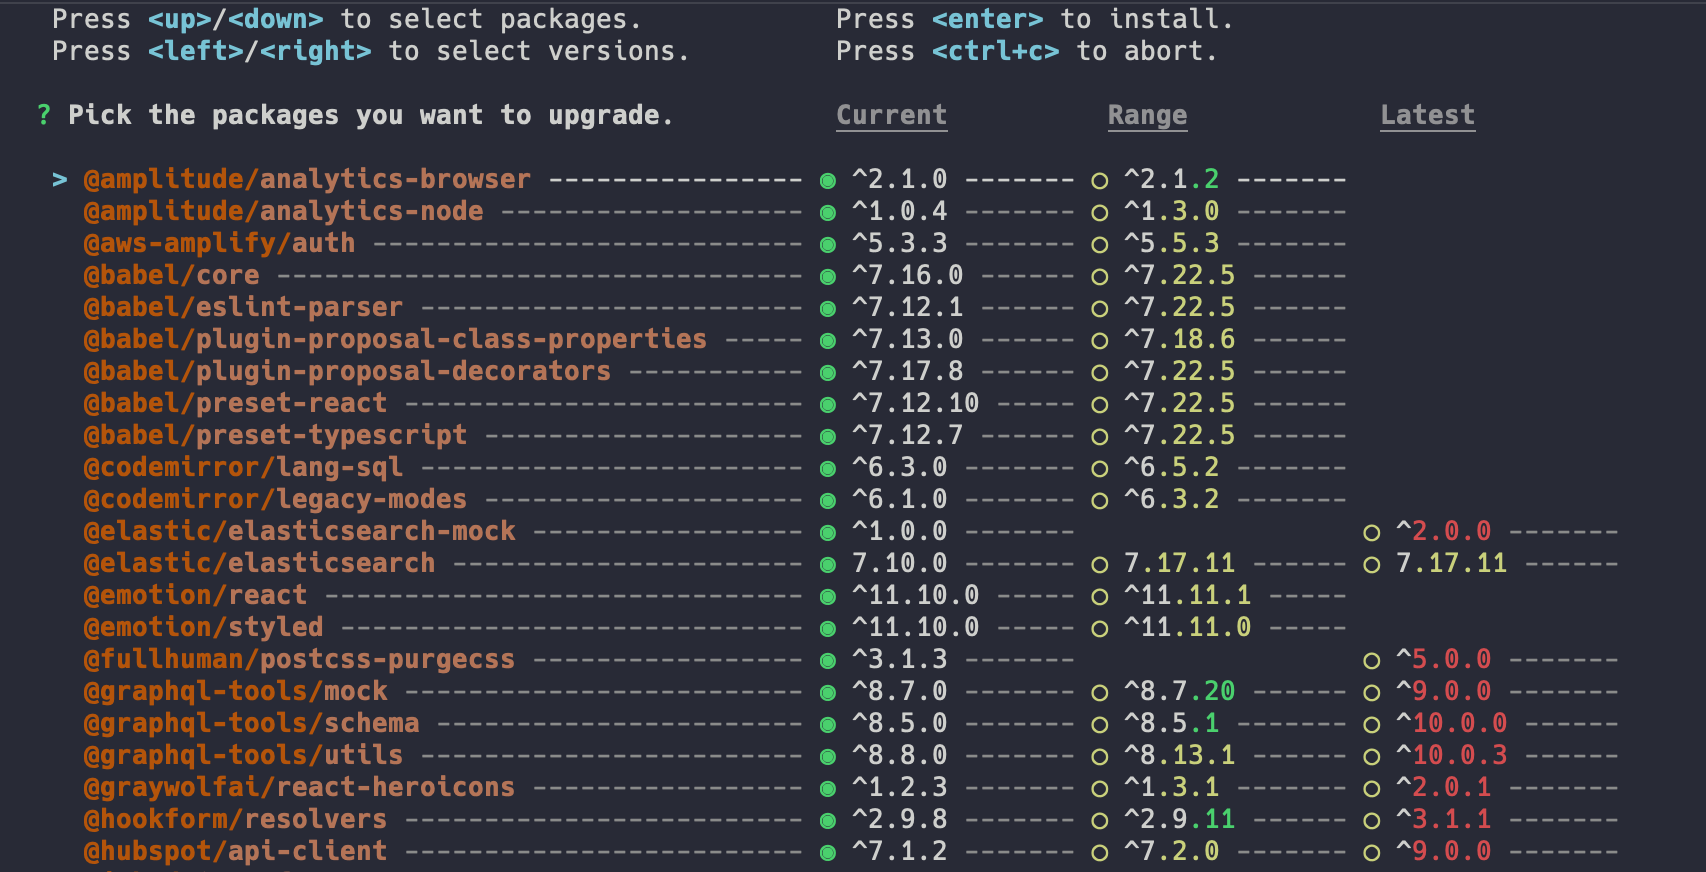
Use yarn upgrade-interactive
Our choice of package manager is yarn for the project. Instead of manually updating the version numbers
in package.json, we used yarn upgrade-interactive command to do the job.
When we run yarn interactive-upgrade command, it will display a nice UI like this:

From the UI, we selected latest v2 for all @remirror packages, hit enter, and let yarn do the rest. Easy!
Run yarn dedupe
After we upgraded all remirror packages, we got an error saying that some extension is not available to remirror
manager. After some digging, we found that the issue was caused by duplicate versions of some remirror packages sitting
in node_modules directory.
The solution to this problem was yarn dedupe command, which will remove duplicate packages from node_modules directory and update yarn.lock accordingly. We ran the command, then the project started successfully.
Refactor the toolbar
The <Toolbar>’s API has changed in v2. We need to refactor the code to make it work again.
In v1, we used to have a <Toolbar> component like this:
<Toolbar
  items={[
    {
      type: ComponentItem.ToolbarGroup,
      label: 'Text Formatting',
      items: [
        {
          type: ComponentItem.ToolbarCommandButton,
          commandName: 'toggleBold',
          display: 'icon',
        },
        {
          type: ComponentItem.ToolbarCommandButton,
          commandName: 'toggleItalic',
          display: 'icon',
        },
        {
          type: ComponentItem.ToolbarCommandButton,
          commandName: 'toggleUnderline',
          display: 'icon',
        },
        {
          type: ComponentItem.ToolbarCommandButton,
          commandName: 'toggleStrike',
          display: 'icon',
        },
      ],
      separator: 'none',
    },
  ]}
/>
In v2, we need to refactor it to:
<Toolbar>
  <CommandButtonGroup>
    <ToggleBoldButton />
    <ToggleItalicButton />
    <ToggleUnderlineButton />
    <ToggleStrikeButton />
  </CommandButtonGroup>
</Toolbar>
Clearly, the v2 API is so much more “React” than the v1 API.
Fix styles
Since Remirror v2 has switched to MUI as the UI kit to implement the React components, its <ThemeProvider> would affect the styles of our own components like dropdown menu. To fix that, we need to wrap the
component with <ThemeProvider> to provide the correct theme, such as:
import theme from 'project/theme';
import { ThemeProvider } from '@mui/material/styles';

export const DropdownMenu = () => (
  <ThemeProvider theme={theme}>{/* code for dropdown menu */}</ThemeProvider>
);
After the above changes, the editor in our project is working again. The upgrading process is not too bad, and we are happy to see that the changes brought by the newer version have definitely improved Remirror quite a bit.